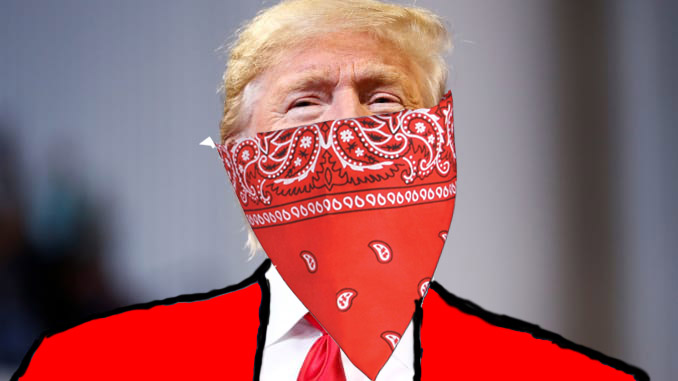
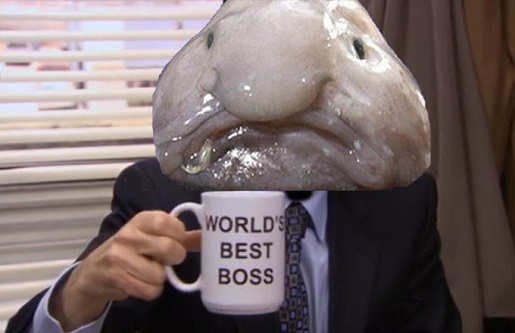
RIGGS STUDENT'S WORK!!!!-CLICK ON EACH PICTURE TO ENLARGE
Photoshop Fun
RIGGS STUDENT'S WORK!!!!-CLICK ON EACH PICTURE TO ENLARGE
Wesley
Zach
Elizabeth Elizabeth
 Elizabeth (Morgan-Shali-Kami) Kaitlynn Carson 
 Dalton Eric Jackson Wesley 
 Wesley Morgan Eric Wesley 

 |
Josh Xavier
Bob Amin

Isaac Constance Madison Robert 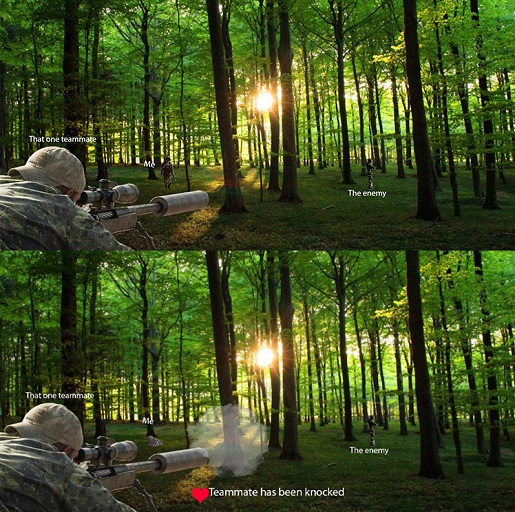

 Bastian Jack Nyah Patrick 

 Arthur Tristain 
|
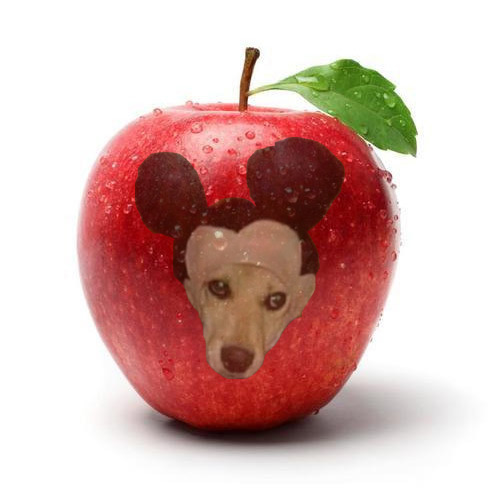
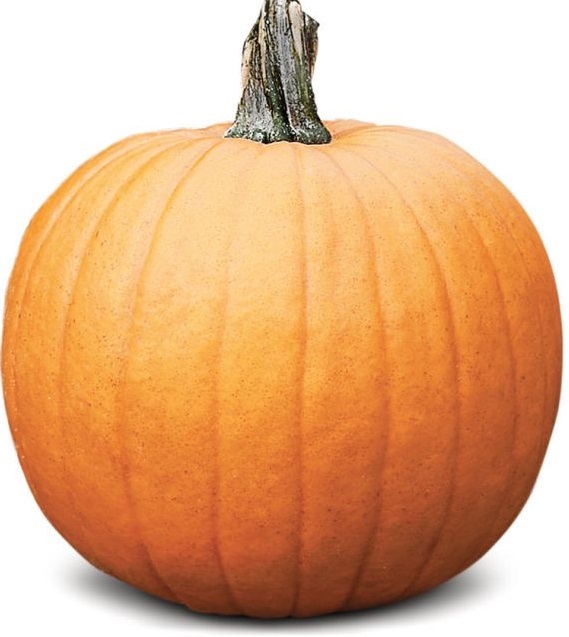
Pumpkin Head Demonstration: CLICK HERE
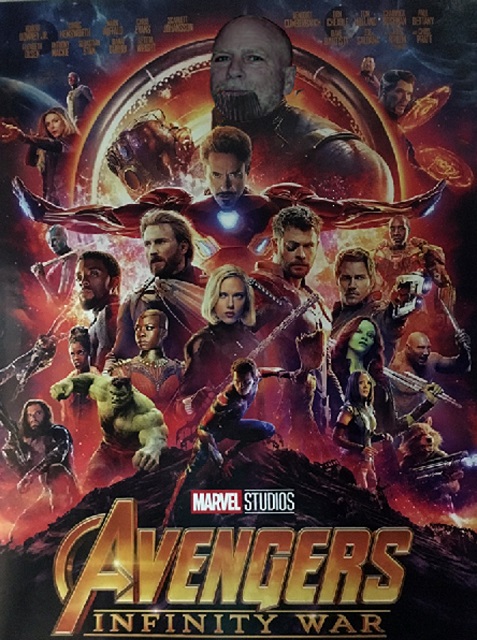
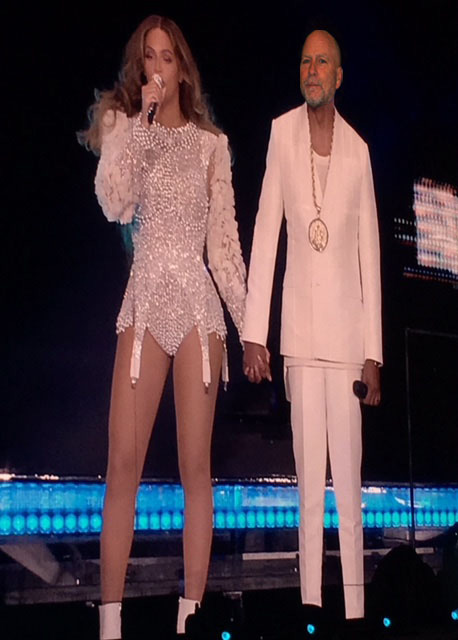
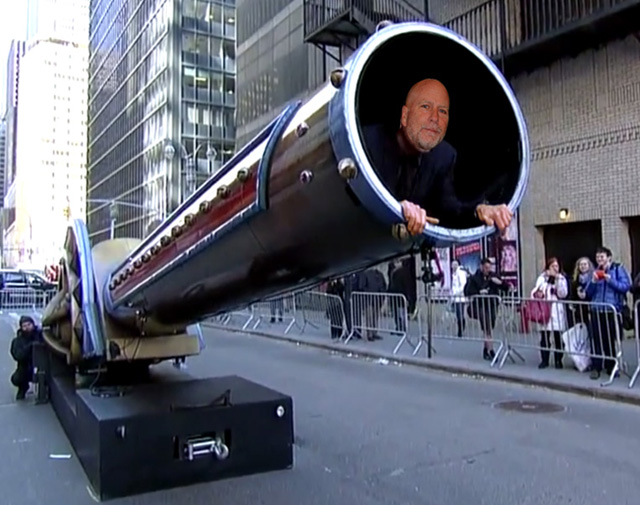
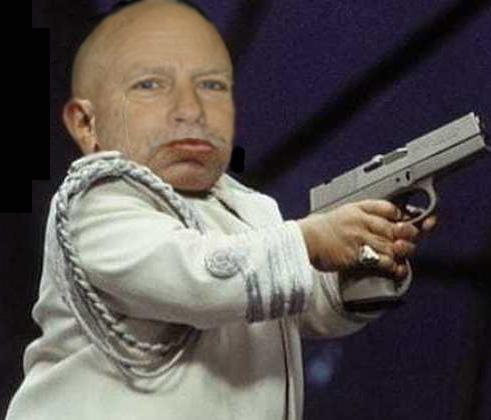
TEACHER DEMONSTRATION: Put Bob’s Head in the Pumpkin
 +
+  =
= 
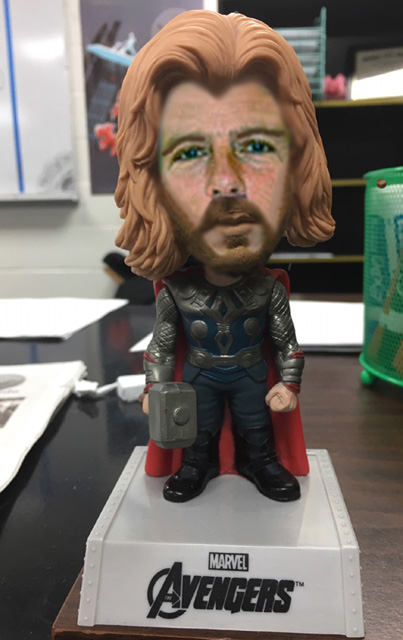
STUDENTS: Try putting your head (my head), in the Pumpkin
--------------------------------------------------------------
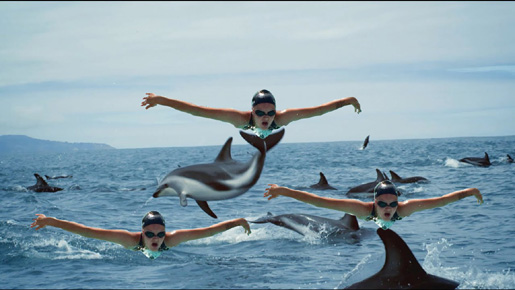
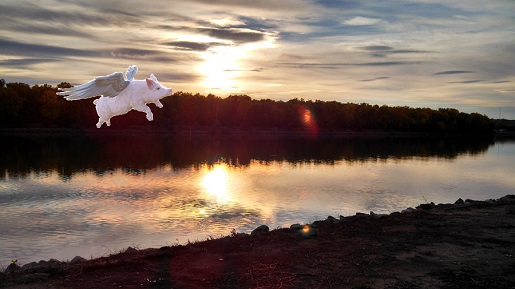
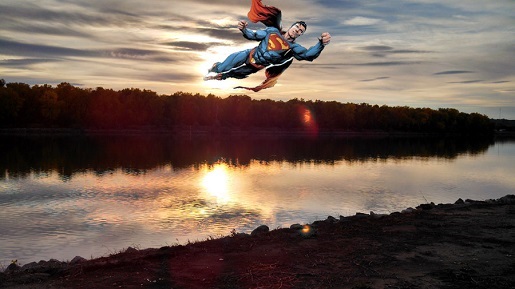
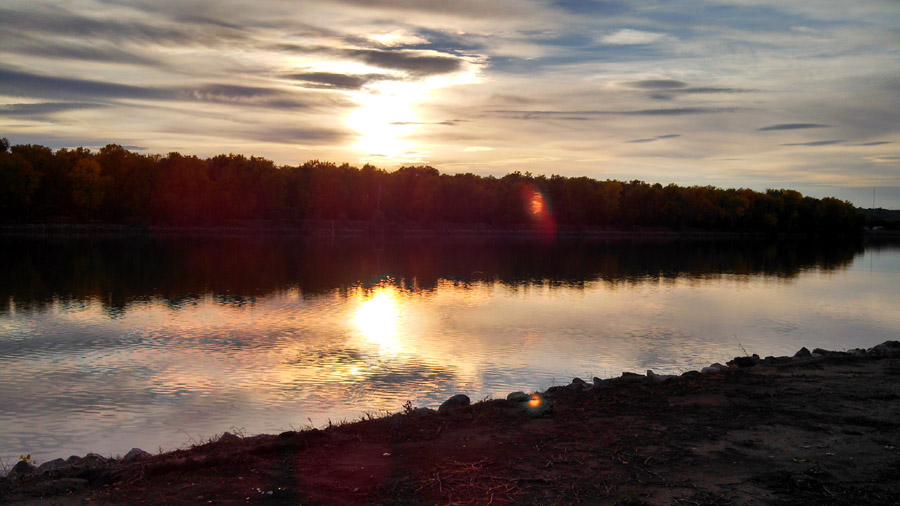
FLY OVER THE MISSOURI RIVER using a PATH:
Making a Path around an object
PATH DIRECTIONS
Matt Background
= Matt Flies
![]()

--------------------------------------------------------------------------
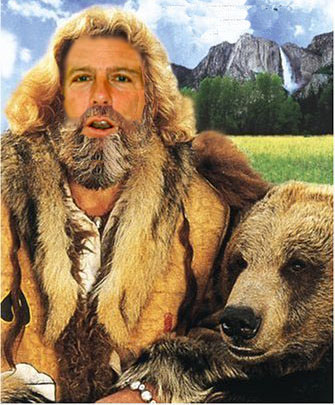
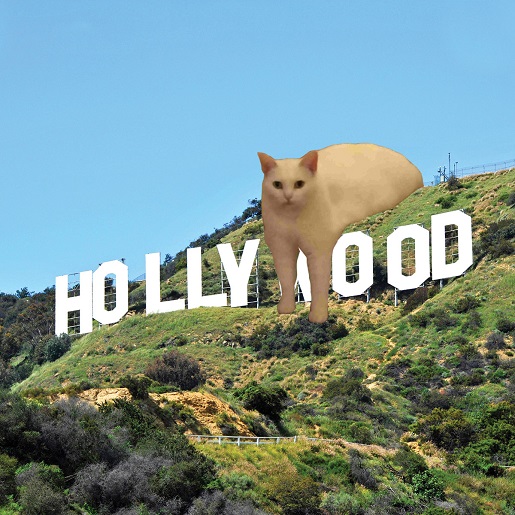
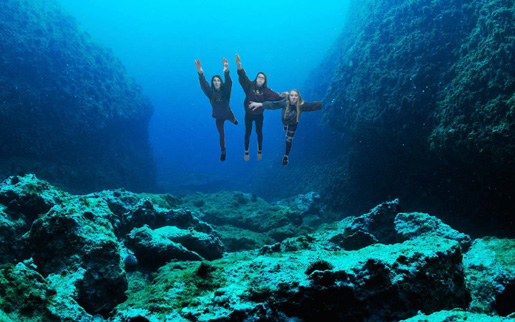
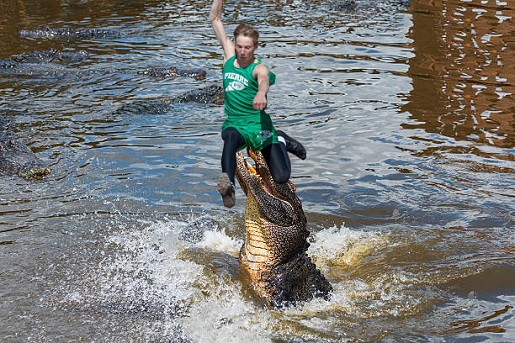
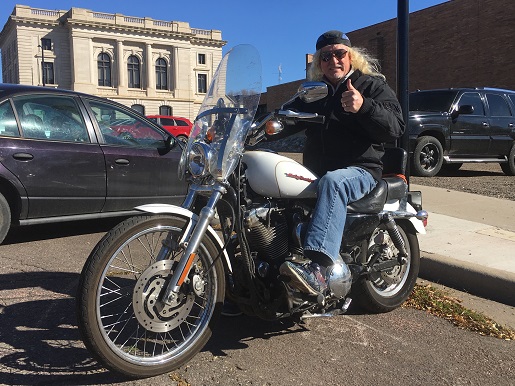
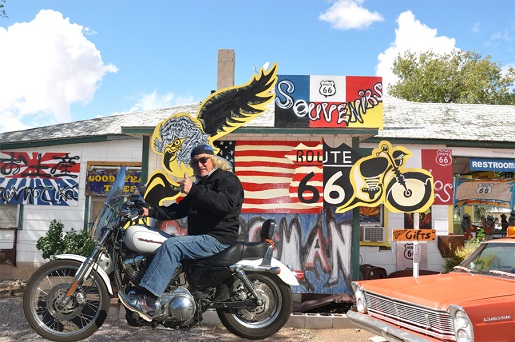
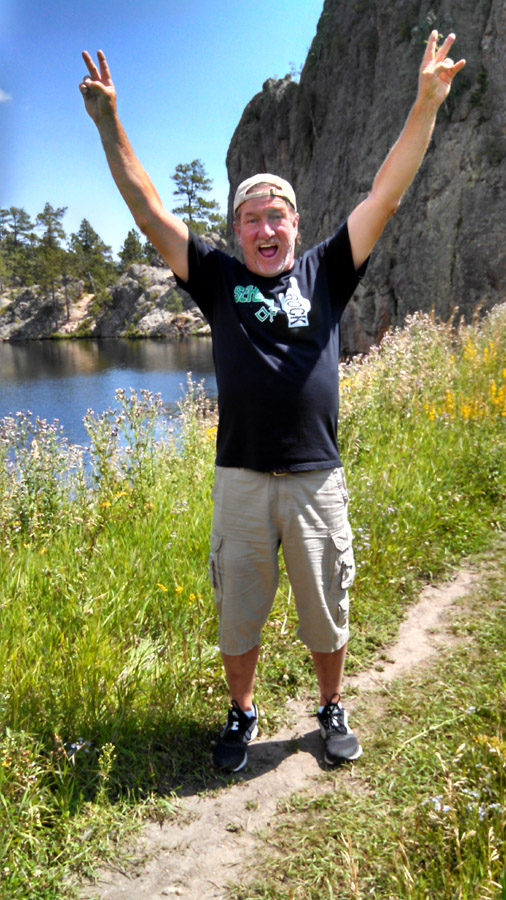
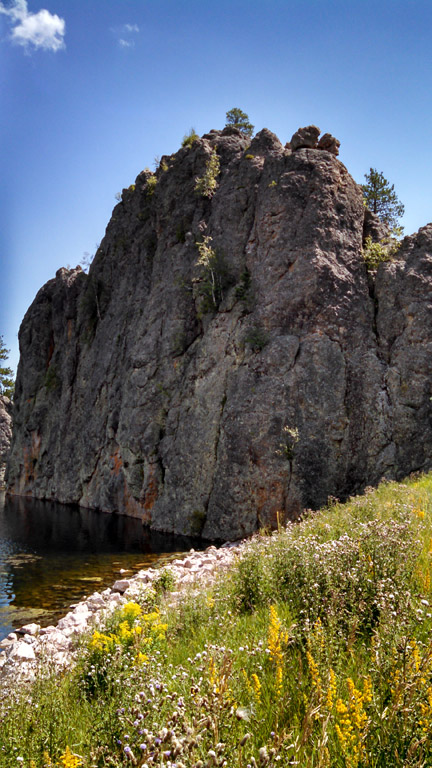
PUT YOURSELF ON A ROCK
 +
+  =
= 
Bob
For Rock Big
Rock Bob
on the Rock
Working with LAYERS to make Posters, Web Page Banners, and Collages
WEBSITE Banner Examples


Collage
Example- Same directions as the website banners
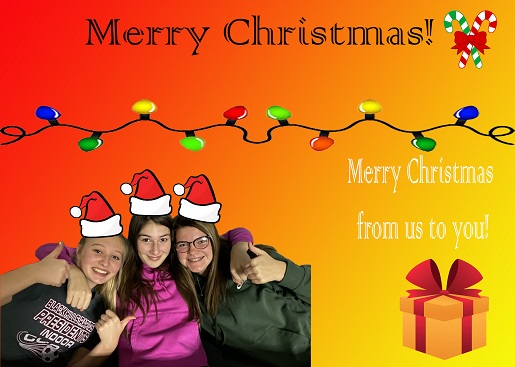
Greeting Card: Start with a NEW
PAGE- File NEW
Set the dimension of the banner to 7 inches by 5 Inches
Here are a couple of clip art examples for the Post Card


These will be saved for the demonstration, and inserted into the Card
Open the clip art pictures above, and make a path (using the magic wand, or create a new path and outline)
It should look like this:

COLLAGE: Start with a NEW
PAGE- File NEW
Set the dimension of the Collage to 10 inches by 8 inches
Set the Dimension of a Poster to 8 Inches by 10 Inches
or 10 Inches by 8 Inches for Landscape
Here are some picture assets that will be used to create a Web Banner
NOTE: the same technique used for a banner will be used to make a collage or
poster
Make sure the Canvas
is not Maximized (Needs
a double square in the top right corner)
Choose Layers tab to see the layers (If layers isn’t available, choose
Windows [top bar]à choose
Layers)
Change Layer 1 to Background (double click on it)
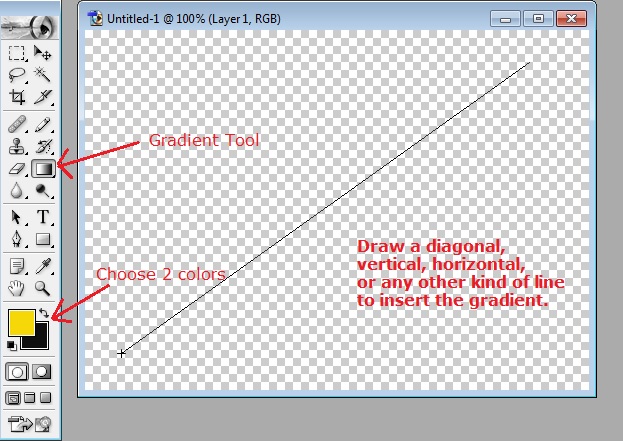
Add a color or a gradient color (To use a gradient, right click on the Paint
Bucket and Choose Gradient Tool)

To make a
gradient, Choose two colors from the tool bar (foreground and background)

DRAW a line across
the SCREEN- Either Horizontal, Vertical or diagonal, or a combination of each:

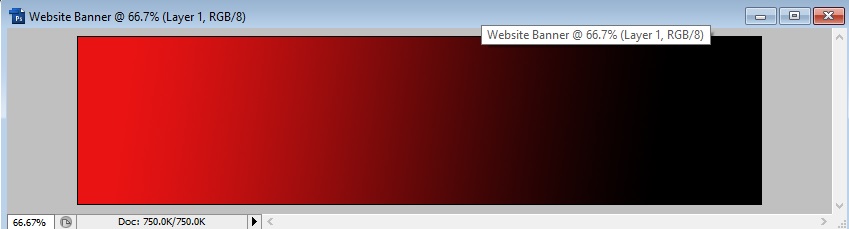
RESULTS with the Black and Red
Colors:
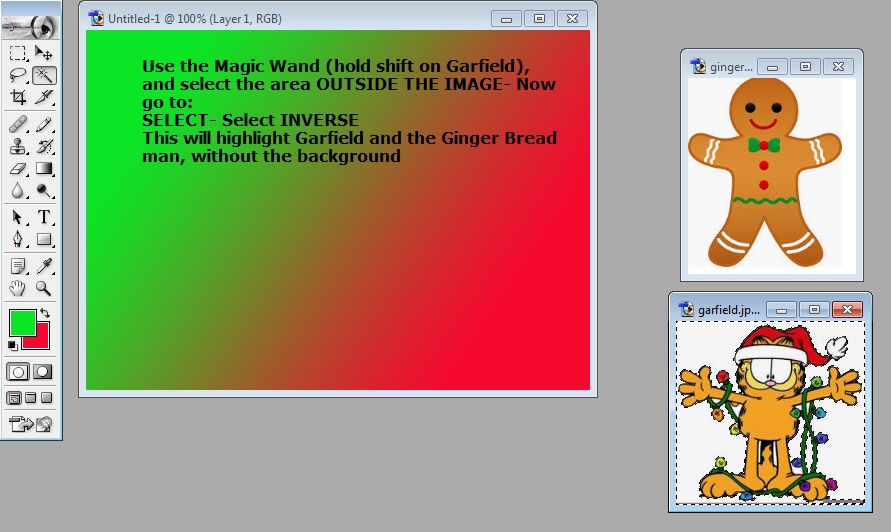
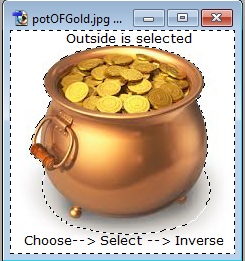
Open a Second Picture such as the Pot of Gold
Use the Magic Wand or
the Path Tool to select ONLY the
With the Magic Wand,
select the outside area of the POT |
|


Go to Windows
Explorer and open one of the pictures from the USB project-
or use your own pictures
Right click on the picture of choosing, and choose Open With
Choose Photoshop
Choose Image-Image Size- Resize to about 480 Width
Choose the Magnify
Tool- Right click on Picture
and choose Fit on Screen
Feathering the
picture before you drag it:
Select the picture with the select tool- Rectangular or Oval select
Make the color selection BLACK
Choose Select – Feather
type 10- make the secondary color black
Choose Select-Inverse-Choose the delete key
The more times you press the delete key, the more feather you get
Choose Select
-Inverse to re-select picture (and not outside the picture)
Drag the picture to the Background that was created
Make a new layer- bottom -2nd from the right
Choose the move tool and move it over to the Canvas
Choose the Text
Tool- Change font and type a banner
Gouty Stout is a nice font
Double click to
the right side of the text layer and
Choose Bevel and Drop Shadow
Another Example showing the layers
Add more
pictures to the collage
SAVE the collage as a PSD (Photoshop format that keeps all the layers for editing later)
To print the
picture at a Wal-Mart or Walgreen:
Do a Save AS and then change the file type to JPG
Save the picture as a JPG- Save it with an 11 or 12 quality for printing.
